After our comprehensive article on How to Send Transactional Emails With JAVA? (3 Methods With Codes - JavaMail API, Simple Java Mail & SuprSend), it's time to check JavaMailSender in more details coupled with a Spring Boot application. JavaMailSender is a key component in Spring Boot for handling email functionality. It simplifies the process of sending emails and integrates well with Spring applications. In this section, we'll provide an overview of the JavaMailSender interface and its importance in the Spring Boot ecosystem.
Pros and Cons of JavaMailSender
Provide a balanced overview of the advantages and disadvantages of using JavaMailSender for sending emails in a Spring Boot application.
Pros:
- Well-structured and widely used in enterprise applications.
- Comprehensive set of functionalities, including reading, composing, and sending emails.
- Programmatic accessibility for integration with other programs.
Cons:
- Extended compilation time due to the nature of JavaMail API.
- Potential memory consumption issues when utilizing the Mail API.
Dependencies and Project Setup
Before diving into the code, it's essential to set up the project with the necessary dependencies. We'll guide you through the process of adding the spring-boot-starter-mail dependency in the pom.xml file and ensuring a proper project setup for email functionality.
Implementation of Email Sending
Now, let's explore the practical implementation of sending emails in a Spring Boot application. We'll provide a detailed code walkthrough of a sample Spring Boot application that utilizes the JavaMailSender interface. The code will include:
- Autowiring the JavaMailSender bean.
- Creating a method to compose and send a simple email.
HTML Email Content
Enhance your emails by sending HTML content. Modify the sendEmail method to include HTML content in the email body.
Adding Attachments
Extend your email functionality by adding attachments. Update the sendEmail method to include an attachment.
Error Handling
Address potential issues by implementing error handling in your email sending process.
Alternative Method: Using SuprSend - Third-Party Multichannel Notification Infrastructure with JAVA SDKs
A third-party multichannel notification infrastructure provider, such as SuprSend, presents an avenue for sending cross-channel notifications through a unified API, covering various channels like Emails, SMS, and Push Notifications. SuprSend streamlines the notification flow by managing all relevant channels and providers seamlessly through a single API, eliminating the need for extensive coding.
Key Features & Benefits:
- Extensive Integration Options: Seamless integration with 50+ Communication Service Providers (CSPs) and across 6+ communication channels, like Mixpanel, Segment, Twilio, Mailchimp, Slack, Teams, SNS, Vonage, Whatsapp and more.
- No Tech Dependency: End-to-end notification management without involving the engineering team, optimizing their productivity. Just integrate the JAVA SDK once, and your product team will manage everything else.
- Intelligent Routing: Create and implement intelligent cross-channel flows across providers without technical dependencies.
- In-App SDK: Provides a fully loaded, developer-ready in-app layer for both web and mobile applications.
- Granular Template Management: Utilize an intuitive drag & drop editor for designing templates, offering superior control over the content.
- Powerful Workspace: Efficiently manage various projects with distinct integrations, workflows, and templates in each workspace.
- Unified Analytics: Track, measure, and make data-driven decisions with a unified view of cross-channel analytics across vendors.
- Smart Automation: Automate synchronization, refreshing, and notification triggers, allowing more focus on critical tasks.
- Quick Scalability: SuprSend automates scalability, putting it on autopilot for a hassle-free experience.
Cons:
- Cost Considerations: Managing multiple notification channels may incur costs. Monthly Notification Limits:
- Be mindful of limitations on the maximum number of notifications receivable per month.
Designed with a "developer-first" approach, SuprSend handles the heavy lifting, enabling engineering teams to concentrate on their tasks without the added complexity of managing notifications.
Getting Started with SuprSend for Sending emails in JAVA:
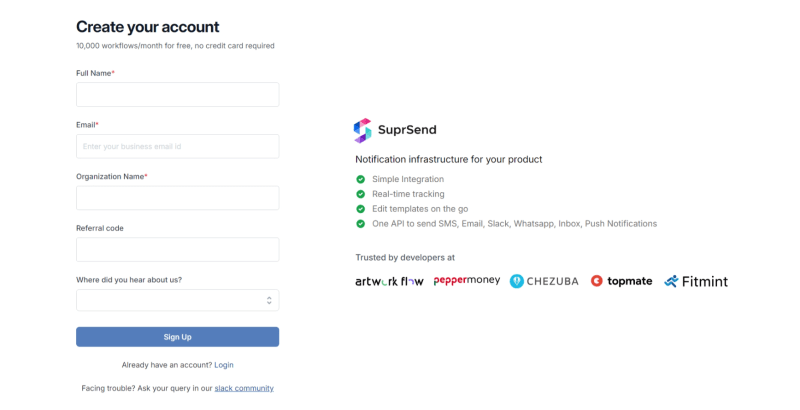
Step I: Log in to the SuprSend Account.
- Visit the SuprSend login page and enter your Email Address and Password. Try SuprSend for free.
Step II: Integrate with Email(s).
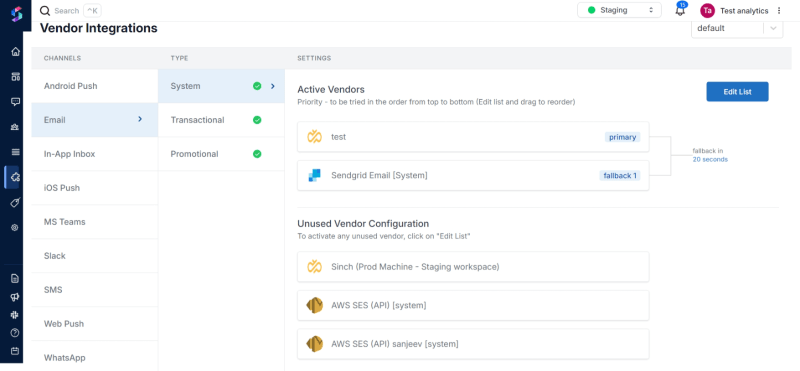
- SuprSend provides a ready-to-integrate provider list for emails, including AWS SES, Mailchimp (Mandrill), Mailgun, Netcore, Outlook, Postmark, SendGrid, and more.
- After logging in, navigate to the integration section, choose the desired email channel, and enter the necessary information.
Step III: Create & Load Template.
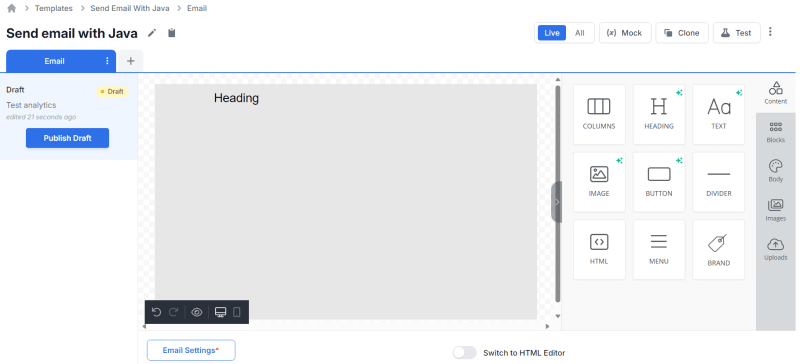
- SuprSend allows you to create and store messaging content with a user-friendly drag & drop editor. To create a template, head to the "Templates" tab, click "Create," and then utilize the "Drag & Drop Editor" for customization.
Step IV: Create Smart Flow (Routing).
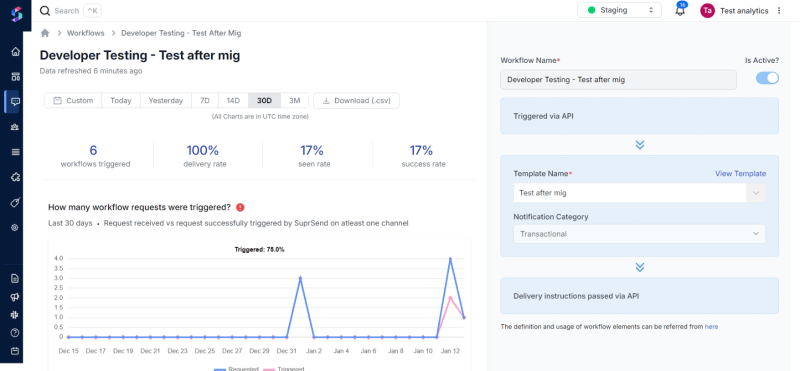
- Define rules and logic effortlessly by heading to the "Workflows" tab. Choose "Single Channel" and create a flow by adding basic details and logic conditions.
- Combine templates, providers, routes, and channels to fire notifications.
Step V: Trigger a Notification Event via API
Following this step, we'll integrate the SuprSend API into our Java application. Begin by updating the Maven pom.xml file with the provided dependency and execute mvn compile to download the necessary components. More info in documentation.
Sample Code to call Suprsend backend using SDK and trigger workflows.
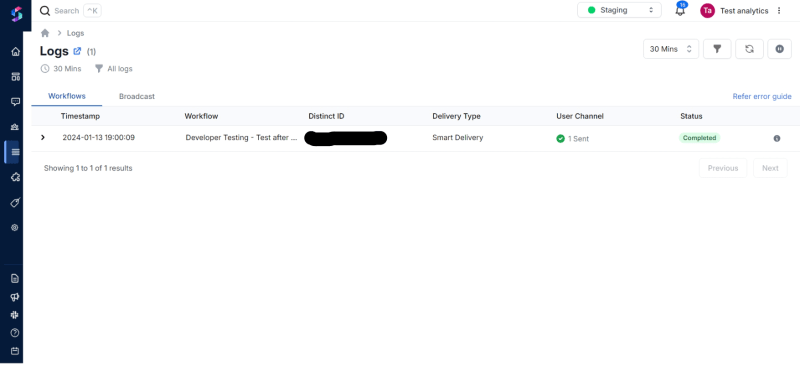
Step VI: Check Event Analytics And Logs.
- Gain granular channel-wise and vendor-wise analytics through the unified dashboard. View "Event Analytics" for actionable insights and access detailed logs through the "Logs" tab. Explore more about logs.
Conclusion:
In conclusion, sending emails in a Spring Boot application using the JavaMailSender interface is a straightforward and efficient process. By following the steps outlined in this article, you can seamlessly integrate email functionality into your Spring Boot projects, facilitating communication with users and enhancing the overall user experience.


